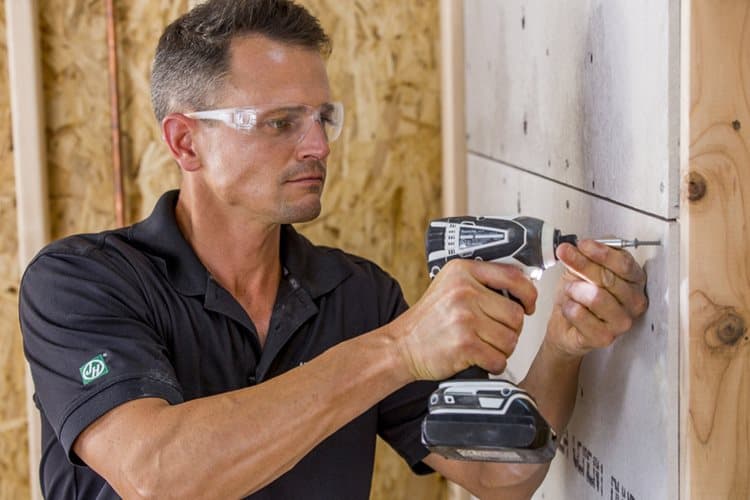
How to install Hardie® Backer cement board on walls
Learn how to install Hardie® Backer cement board on walls and the appropriate materials and tools that you’ll need for the job.

If you’re working on a tile project for the walls of a kitchen or bathroom, you’ve likely already selected a tile or stone slab. But a successful project relies just as much on the material you choose to install underneath your tile or stone, even if you won’t see it after completion. Protecting from water damage is the key to enjoying a finished kitchen or bathroom for decades to come.
Here’s what you’ll need to install your Hardie® Backer cement board:
- Modified dry-set cement mortar (also known as latex or acrylic modified thinset)
- 2” wide, high-strength, alkali-resistant glass fiber tape
- Corrosion-resistant roofing nails OR 1.25” minimum Backer-On screws
- Appropriately sized notched trowel (based on the tile size)
- Carbide-tipped scoring knife (recommended), utility knife, or shears
To start, check that your framing is sound and complies with local building codes. You’ll need 2 x 4 wood studs or 20-gauge metal studs. They must be straight, properly aligned, and spaced a maximum of 16” on center. If you’re planning to use your Hardie® Backer cement board on tub and shower enclosures, first ensure that the framing is adequately reinforced at the corners.
When determining the layout of your Hardie® Backer cement board, consider the following:
- Choose whether you’ll install your cement boards vertically or horizontally
Arrange your boards in a staggered pattern - Make sure the edges of the board parallel to framing are supported by a structural framing member
- Make sure the corners don’t meet at one point, which can create a weak point
- Next, cut your Hardie® Backer cement board to size. Check out our video on How to Cut Hardie® Backer cement board for detailed instructions.
Now, you’re ready to install your Hardie® Backer cement board. You may want to use a waterproof membrane, vapor barrier, or vapor-retarding membrane, especially if the local building code requires it. Here’s how to install your Hardie® Backer cement board on walls:
- Start installing your boards a quarter inch above the floor, tub, or shower board and caulk accordingly.
- Fasten cement board with specified nails or screws, a maximum of 8” on center at all supports.
- Keep fasteners ⅜” from board edges and 2” in from sheet corners.
- Set fastener heads flush with the surface without overdriving.
- Fill all joints with mortar and embed with 2” wide, high-strength, alkali-resistant glass fiber tape and level.
Now, you’re ready to add stone or tile to your walls. Here’s how to finish your project:
- Wipe the surface of the Hardie® Backer cement board clean with a damp sponge.
- Spread your mortar with an appropriately sized notched trowel. For best results, comb the ridges in one direction only.
- Twist or press and beat in the tiles.
- Allow a minimum of 24 hours curing set time before grouting.
And just like that, your tile project is complete!
For complete installation guidance, please refer to the Hardie® Backer cement board Installation Guide.