How to install staggered edge Hardie® Shingle siding
Whether you’re using it to side an entire house, or just a small portion, here are general instructions on how to install staggered edge Hardie® Shingle siding.
Whether you’re using it to side an entire house, or just a small portion, here are general instructions on how to install staggered edge Hardie® Shingle siding.
First, you’ll want to start at one end and work across the wall. Then, install a 1-1/4-inch starter strip and an 8-1/4-inch starter course. Be sure to align the bottom edges of trim and siding for best appearance.
Remember, a 1/4-inch clearance must be maintained between siding and trim, and leave a 1/8-inch gap between siding and trim.
Next, cut the bottom of a panel to create a straight edge for the first row. Alternatively, you can purchase straight edge panel Hardie® Shingle for the first row. Install your first row per the recommended best practices.
Before installing additional rows, snap chalk lines, stacking them horizontally every 6-inches up the wall, measuring from the top of the first row.
- Measure and cut 16-inches off the first piece of the second row.
- Install a 32-inch panel on the second row, using the cut end to abut the trim.
- Measure and cut 32-inches off the first piece of the third row, saving the cut pieces to use on the other end of the wall.
- Install a 16-inch panel on the third row.
- Continue following a stair-step pattern up the wall to establish proper positioning.
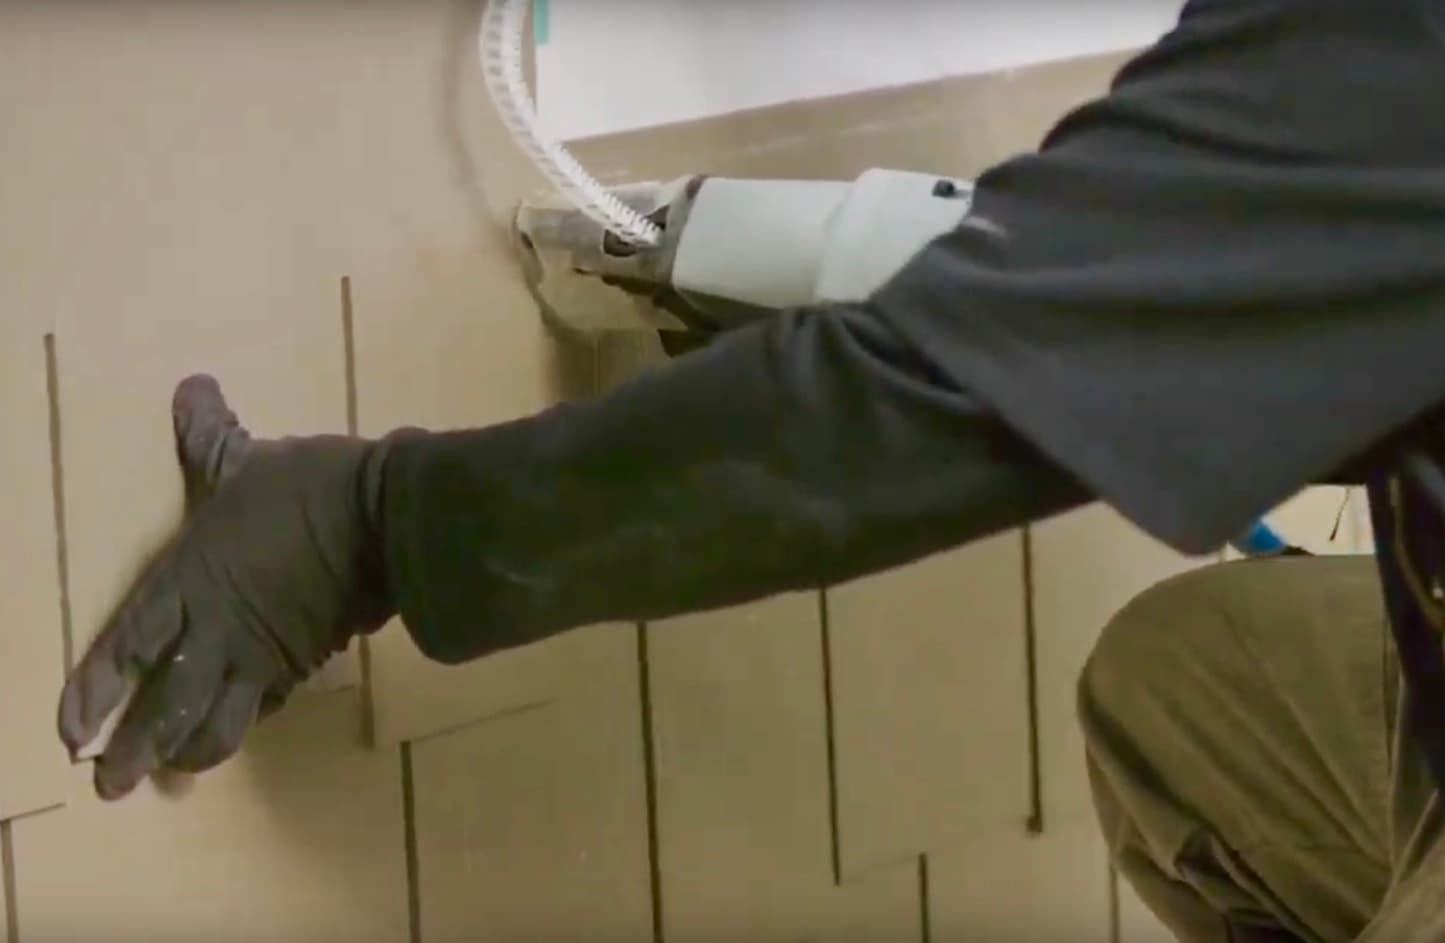
You may add a pin back if the siding is not laying down on the wall (use a 2-inch gauge, straight finish nail). Pin backs should be added 3/4-inch up from the bottom edge of the panel and at least 3/8-inch from the ends of the panel.
For more detailed information on installation, please refer to the Hardie® Shingle siding best installation practices guide, which you should keep for reference on every job.